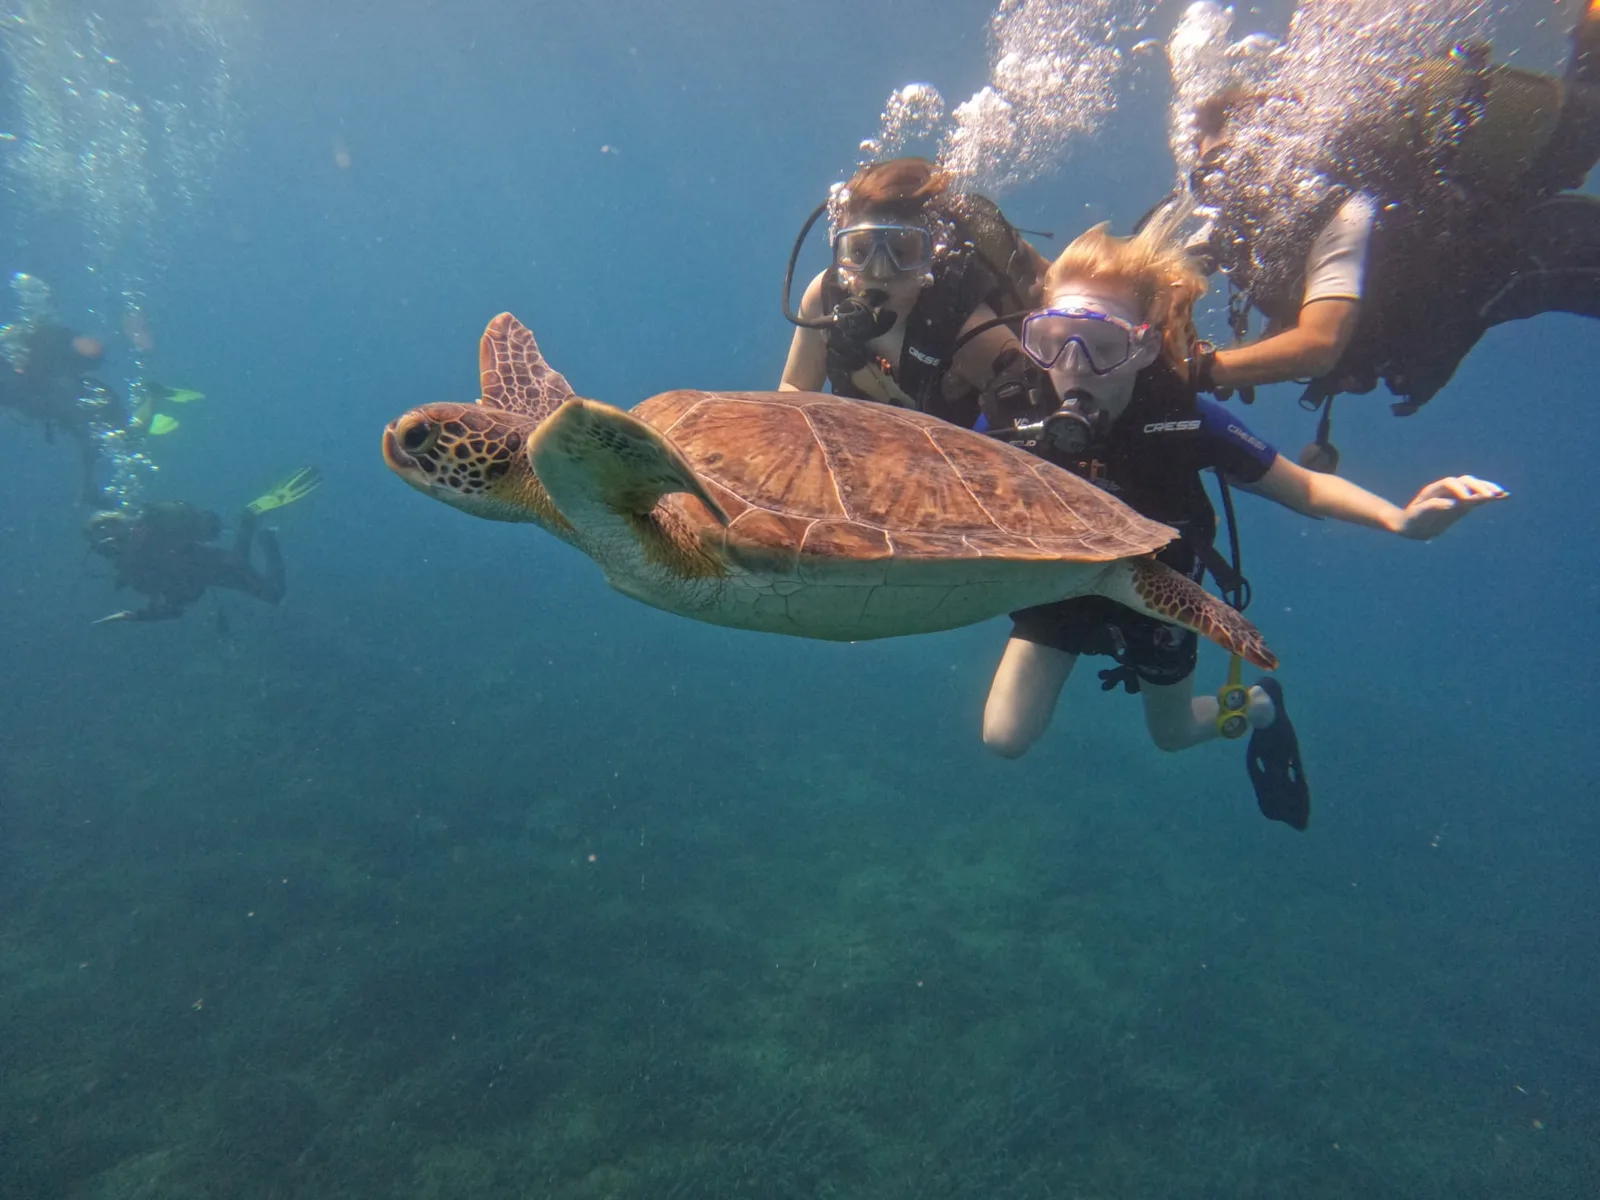
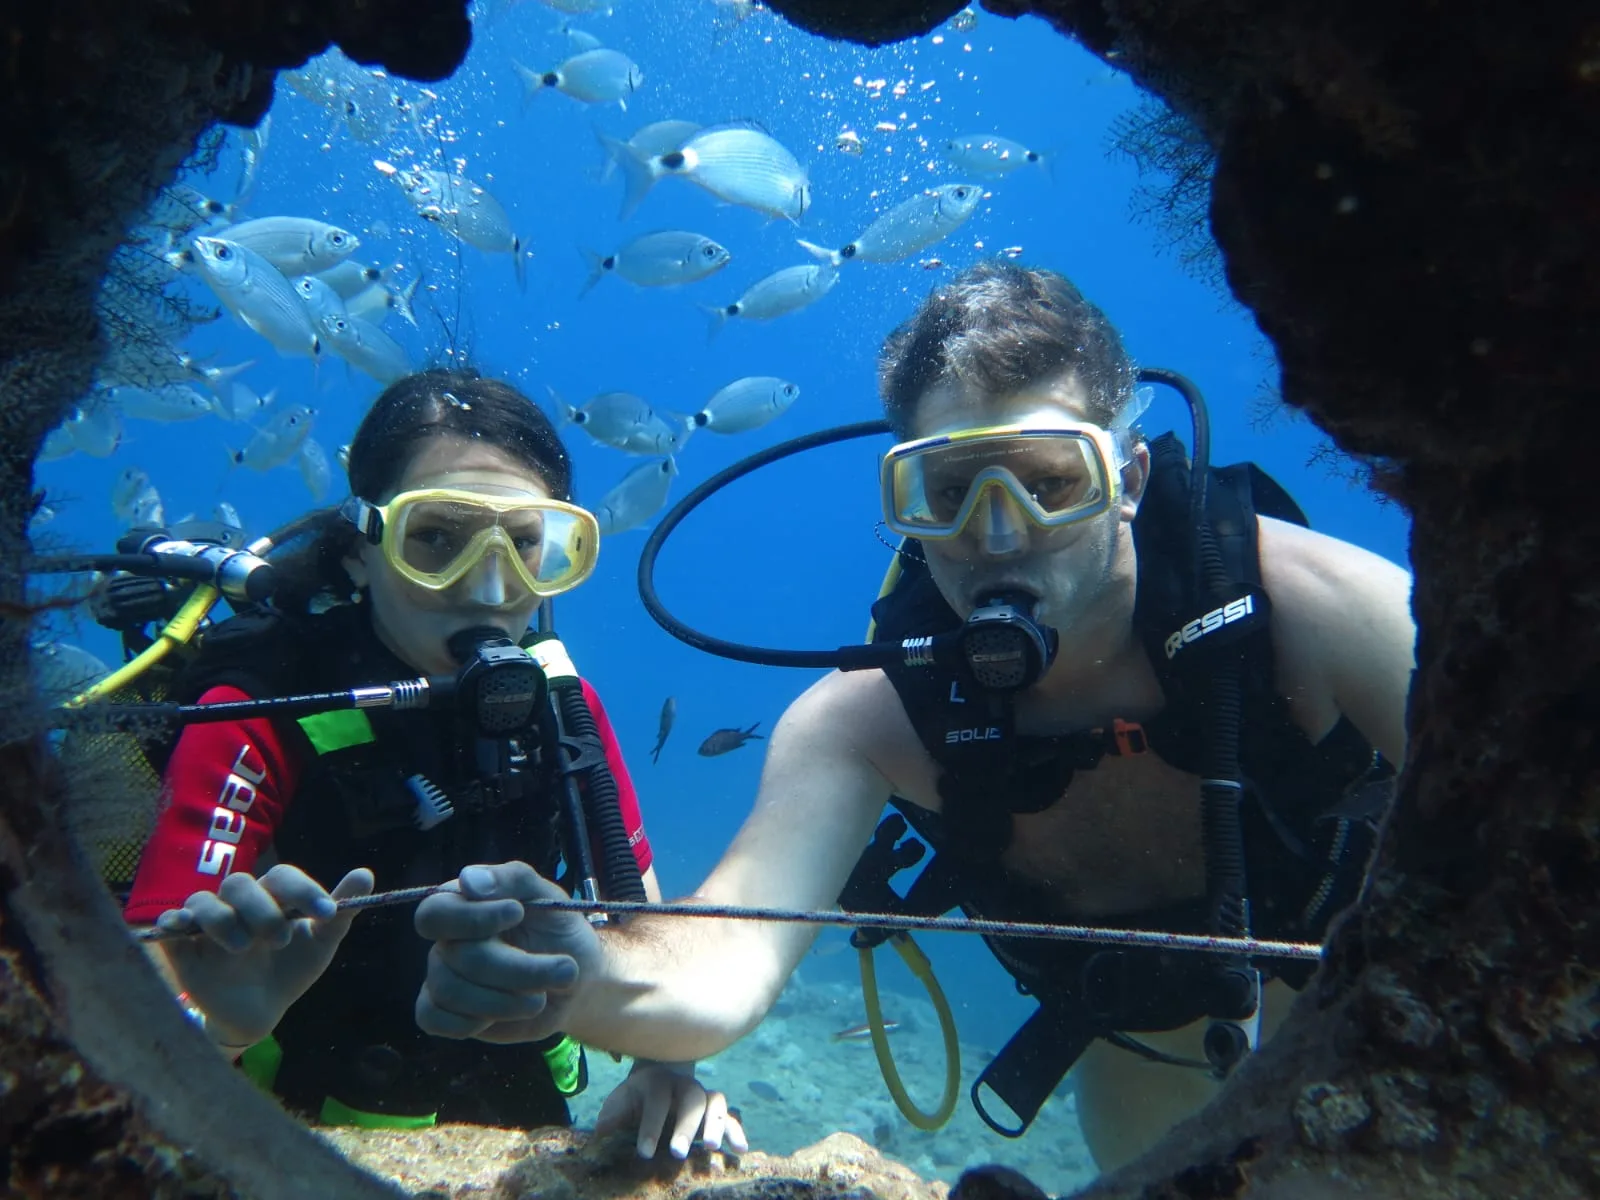
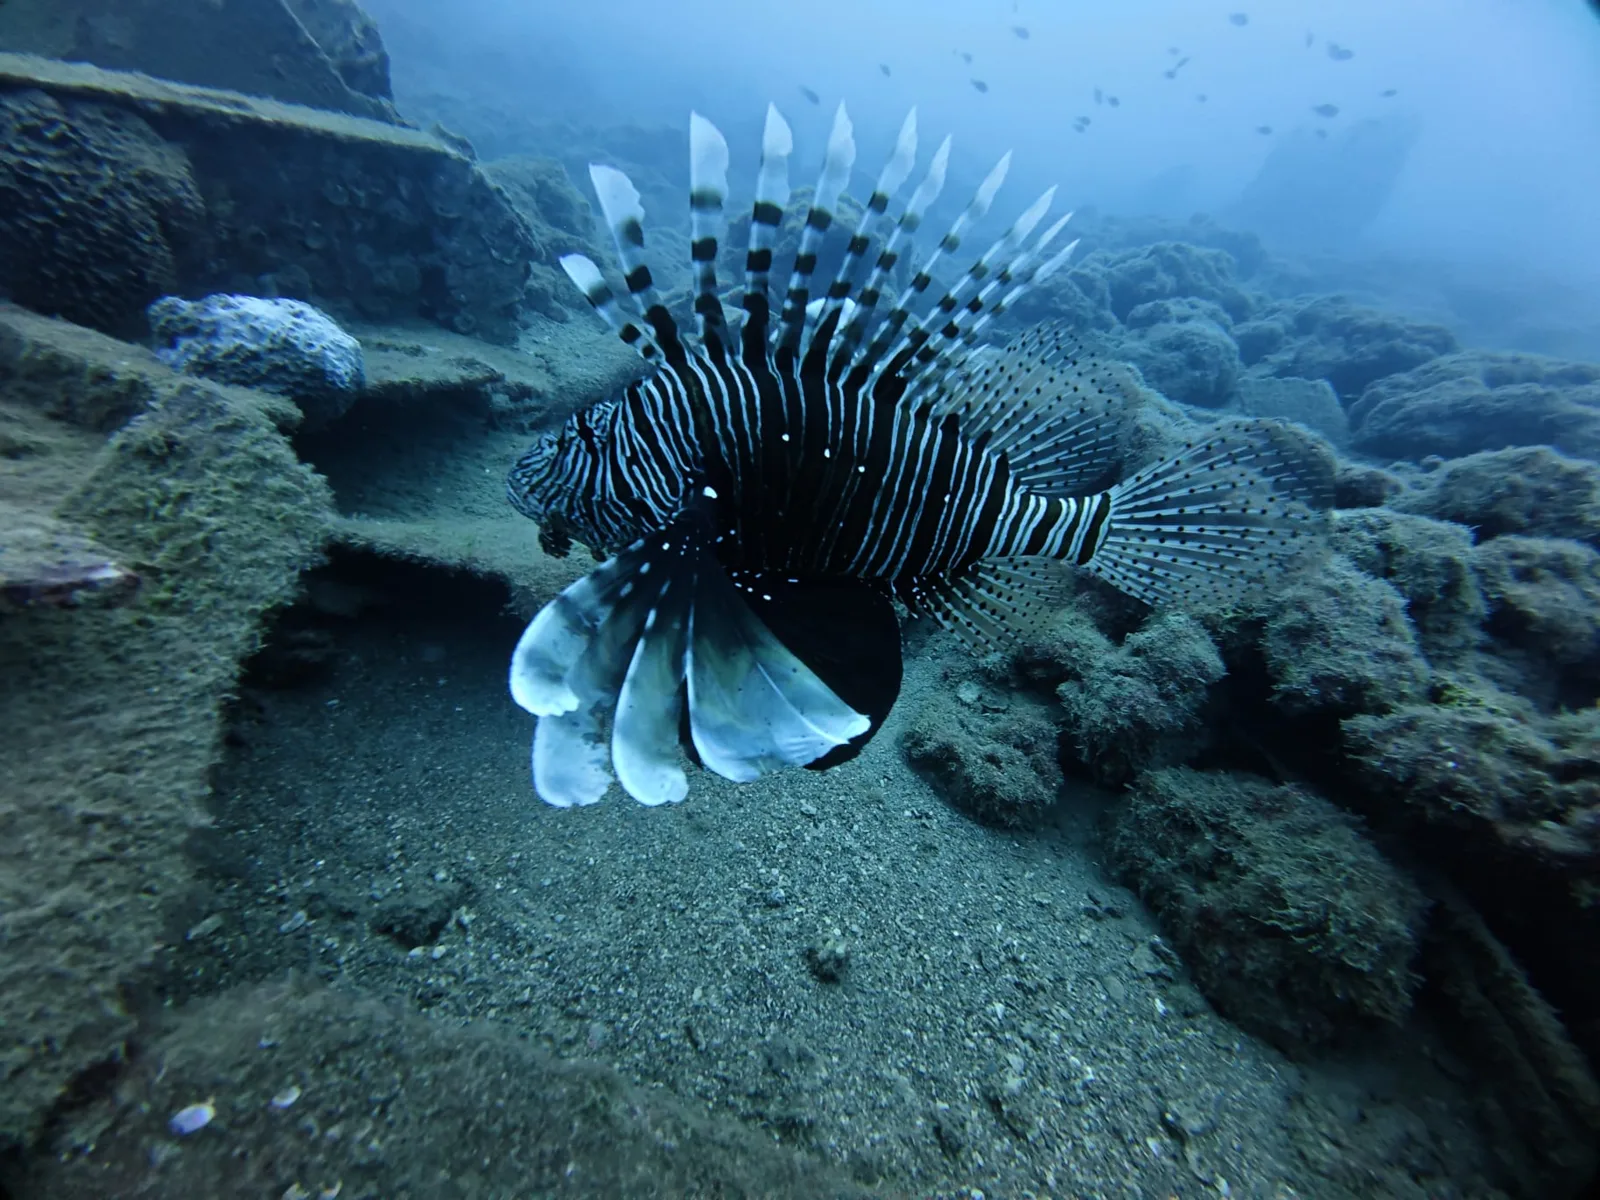
Almost every guest boards our boat with the same plan: come back with proof. Fair enough — a first dive deserves evidence. But underwater photography follows different physics than holiday snaps on the beach, and knowing five basic principles separates a camera roll of blue blurs from images you will genuinely frame. Here is what actually matters, from people who watch beginners shoot every day.
Why Everything Looks Blue: Light and Colour at Depth
Water absorbs light — but not evenly. It swallows the red end of the spectrum first: red fades noticeably within the first five metres, orange follows, then yellow. By the time you reach ten to twelve metres, unassisted photos come out in shades of blue and green, because that is genuinely all the sunlight that is left down there.
This is why our dive profile is quietly perfect for beginner photography. The first dive of the day sits at five to eight metres — the depth where natural colour is still alive — and lasts fifteen to twenty-five relaxed minutes. What to do about the missing red:
- Stay shallow for colour shots. The best natural-light photos of your day will come from the morning dive, not the deeper afternoon one.
- Use your camera's underwater mode if it has one — it shifts white balance to compensate for lost red.
- Bring light if you have it. A small video light restores true colour at any depth. No light? Shoot subjects within a metre or two — less water between lens and subject means less colour loss.
- Shoot slightly upward. Framing your subject against the bright surface gives depth, drama and natural backlight; shooting down at the seabed flattens everything.
The Unpopular Truth: Buoyancy Beats Megapixels
The biggest difference between a sharp underwater photo and a blurry one is not the camera — it is the diver holding it. If you are drifting, rolling or finning to hold position, no camera will save the shot. Neutral buoyancy is the tripod of the sea.
Practical version for a first-time diver:
- Dive first, shoot second. Spend the first minutes settling your breathing and position. The photos from a calm diver's last ten minutes beat anything from a flustered diver's full dive.
- Stop, then shoot. Come to a hover, frame, take the picture. Moving-while-shooting is how blur happens.
- Use your breath, not your arms. Small inhales lift you, small exhales sink you. Arms are for holding the camera still.
- Let subjects come to you. Chased fish flee; ignored fish get curious. Patience is the best zoom lens ever made.
This is also the honest argument for experience: buoyancy improves with every dive, which is one more reason the open water course path pays off for anyone bitten by the photography bug.
Where to Point the Camera: Sculptures and Sea Life
The Mediterranean rewards photographers who look for scenes, not just species. And our region holds an ace: the Side Underwater Museum, where sunken sculpture exhibits stand on the seabed. Statues make superb subjects for beginners — they hold perfectly still, they give your image scale and story, and a diver hovering beside a sculpture is the classic shot of the whole region. The fish that have colonised the exhibits add the living layer: on our trips you can hand-feed them, which brings them close enough for the kind of frame-filling shot beginners rarely get any other way. For knowing what you are looking at through the viewfinder, our marine life page is the pre-dive homework.
Respect the Reef: The Photographer's Rules
A camera changes diver behaviour — usually for the worse. Chasing the shot, people kick sand clouds, grab rocks, crowd animals. The rules that keep the sea photogenic for the next diver:
- Touch nothing, take nothing. Not the sculptures, not shells, not "just one pebble".
- Keep fins off the bottom. One careless kick stirs sediment that ruins visibility — and your own next photo.
- Never grab marine life for a picture, and never corner an animal for a better angle. If it retreats, the shoot is over.
- Know where your gear hangs. Dangling gauges drag across the seabed without you feeling it.
- The dive comes first. Depth, buddy, instructor's signals — no photo outranks them. Everything on our safety page applies with a camera in hand, doubly.
No Camera? Even Better, Sometimes
Two honest tips to finish. First: waterproof phone pouches are fine for snorkelling but disappointing at diving depth — if you plan to buy one thing, a simple action camera with a proper dive housing beats them all. Second: on our boats you don't have to bring anything at all — professional underwater photos and videos are available as an optional extra on our trips, so you can spend your first dive actually experiencing it, eyes wide, hands free. Ask about it when booking so we can confirm it for your date.
However you shoot, the subject matter is waiting on all five of our coasts — compare them in our Antalya diving guide, book free online, pay on the day, cancel free up to 24 hours ahead. The sea provides the colours; now you know how to keep them.